

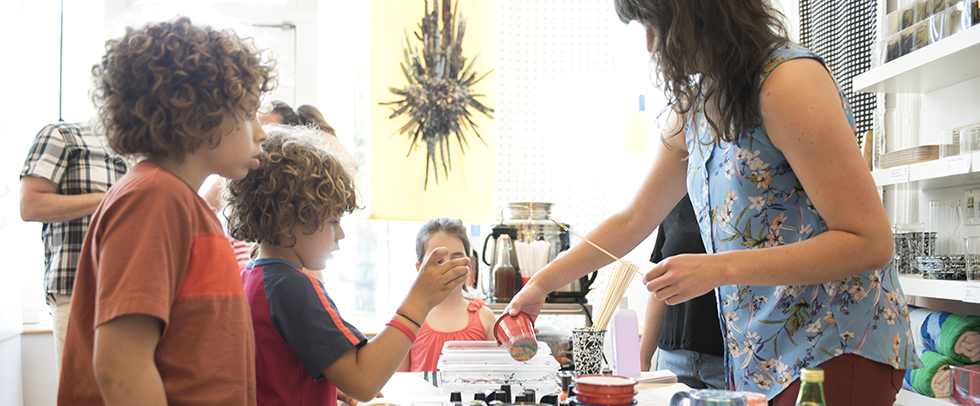
At our recent Father’s Day Store Event: It’s Marbleous! we demonstrated the technique of marbling using nail polish as a quick and easy way to customize almost any household item, including mugs, coasters and office supplies. With endless color combinations and items to marbleize you’ll find this technique is your new go-to for a great gift idea that won’t disappoint.
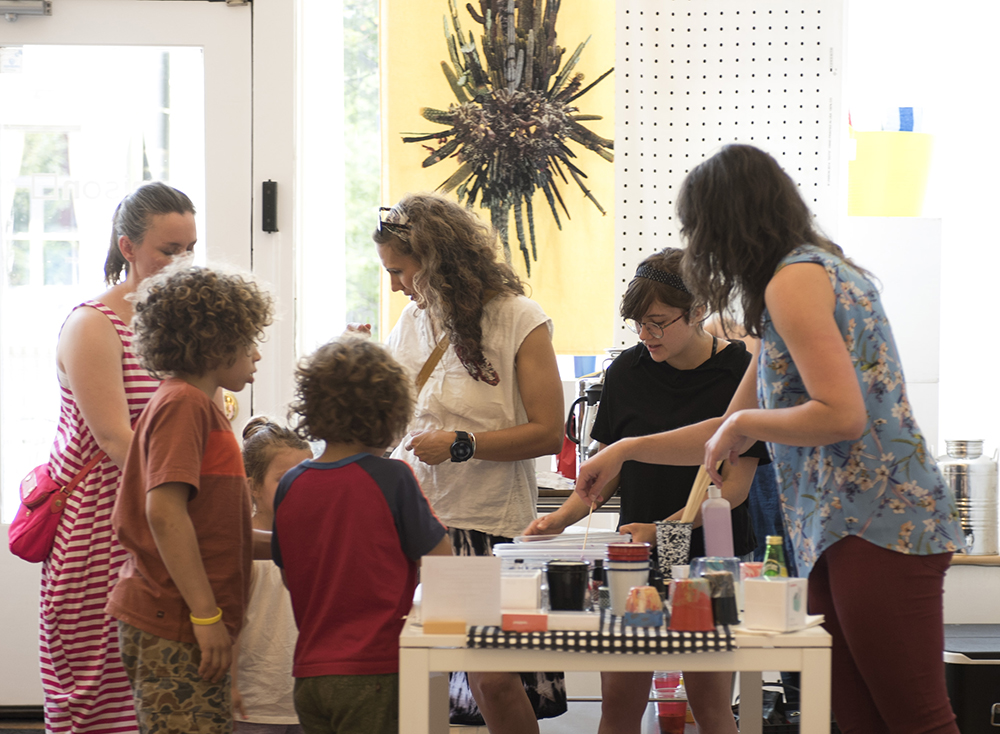
Follow along below for a step-by-step tutorial on how to make your own marbled creations at home!
What you’ll need:
- nail polish (pick your favorites!)
- bamboo skewers or toothpicks
- plastic container filled with water (deep enough submerge the items you want to marble)
- parchment paper
- painter’s tape
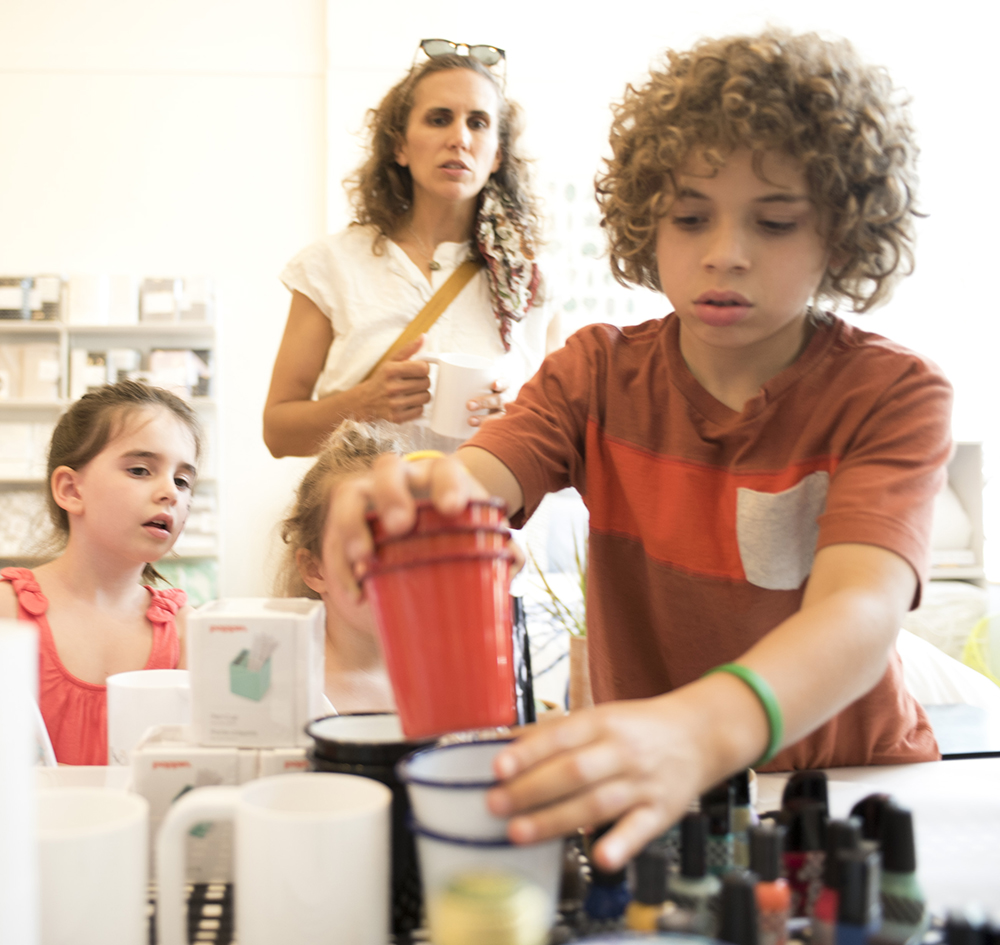
Step 1: Pick the items you’d like to marble. I suggest anything with a fairly smooth surface: ceramic, plastic or even cork seems to work well.
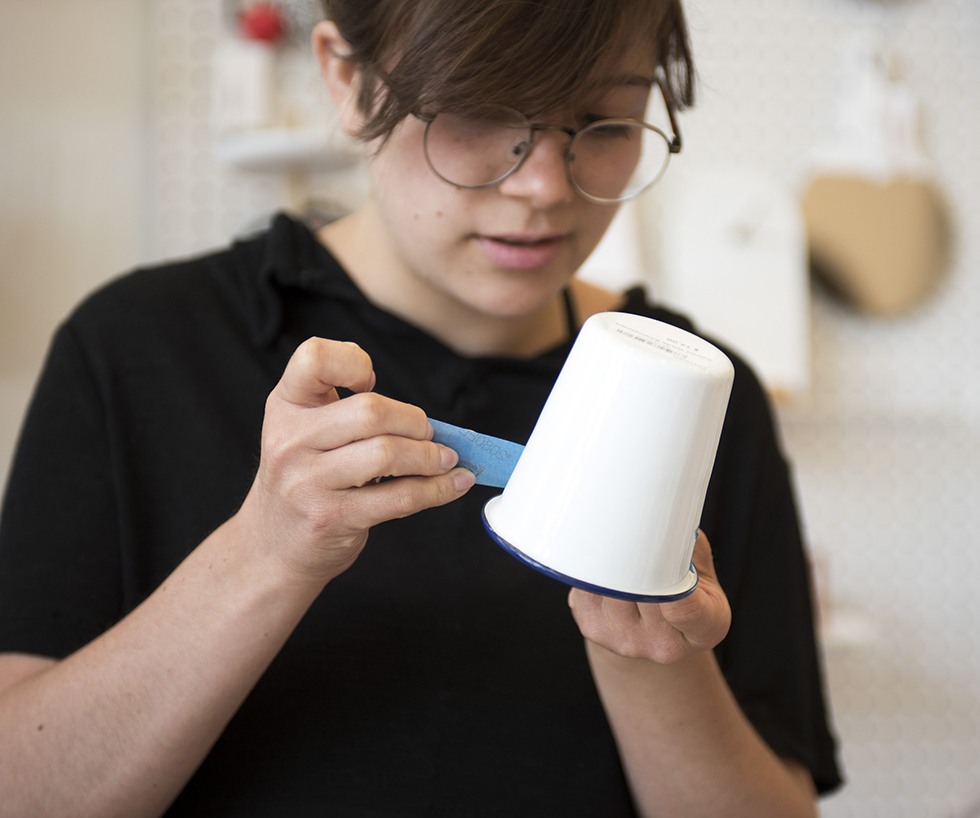
Step 2: Tape off the sections of your item that you don’t want marbled with painter’s tape. Here we decided to make a striped pattern.

Step 3: Choose the nail polish colors you would like to use, I recommend 3-4 to get a nice range of color. Pour nail polish into the container filled with water, the polish should sit on the surface of the water. Using the bamboo skewer, gently pull the polish through the water to get your desired pattern.
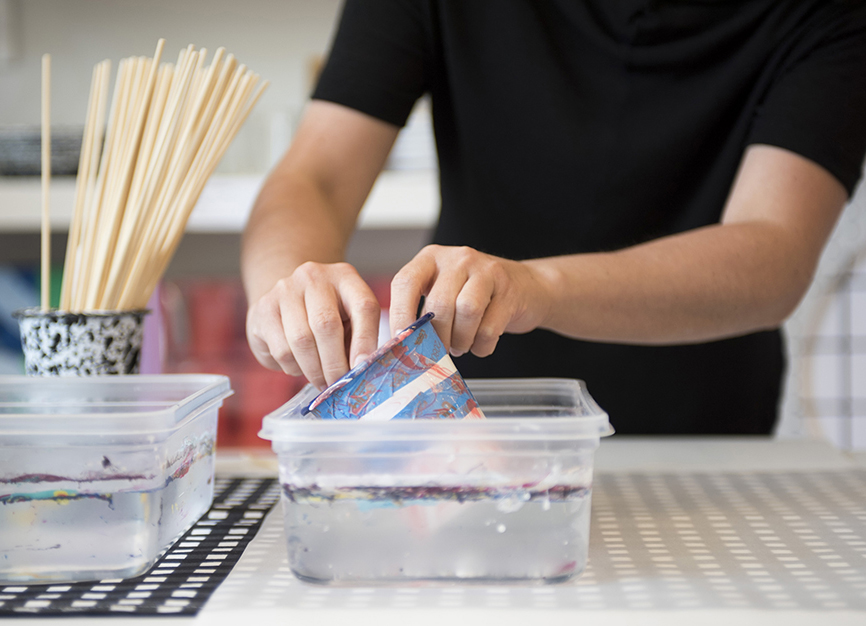
Step 4: Carefully dip your item into the water making sure to fully submerge the area you want to marble. Pull item out of the water and set to dry.

Step 5: Let dry for 10-15 minutes, or dry to the touch. Remove the painter’s tape and you’re all set!